
So you want to use WordPress.org as your website platform?
The first thing you need to do is install it onto your host, and I’m going to talk you through that step by step — you’ll be blogging in no time.
For my host, I use www.ionos.co.uk, previously known as 1and1.
This guide will be based on that website and features. If you wish to use another host, this guide may still apply depending on how much your control panel differs. If you need help with another website, please ask and I’ll try my best to talk you through it.
If you haven’t yet registered a domain name and host, you need to tick that off before continuing to install WordPress. You can read our handy guide on how to do this here: Register a domain name and host with Ionos
Log into your Ionos (host) account
Upon logging into your account, you will be taken to your main dashboard:
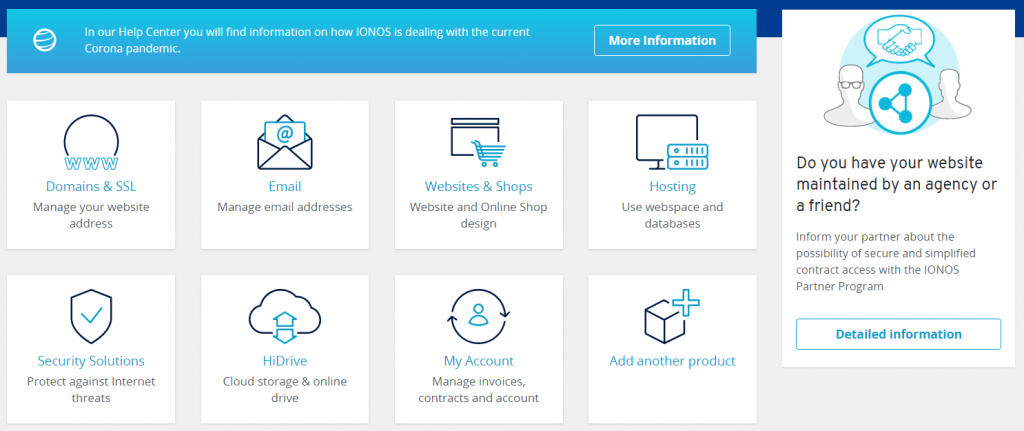
From here, click on ‘Websites & Shops’.
On the next page, click ‘Create New Website‘.
You will then be taken to another page where you can select the type of website you wish to create.
Scroll down and find the WordPress box:
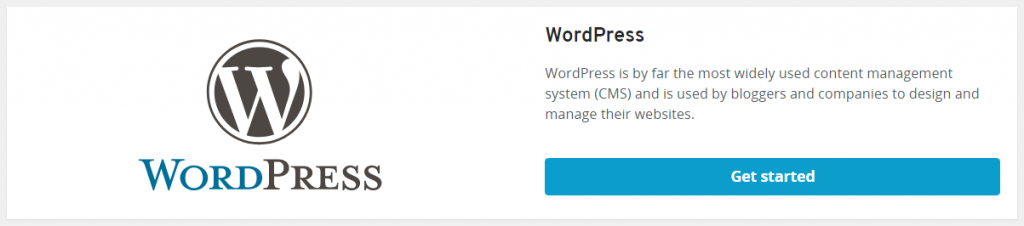
Click the blue button labeled ‘Get started‘.
Next, you need to give your new WP site a title. You can change this later, don’t worry.
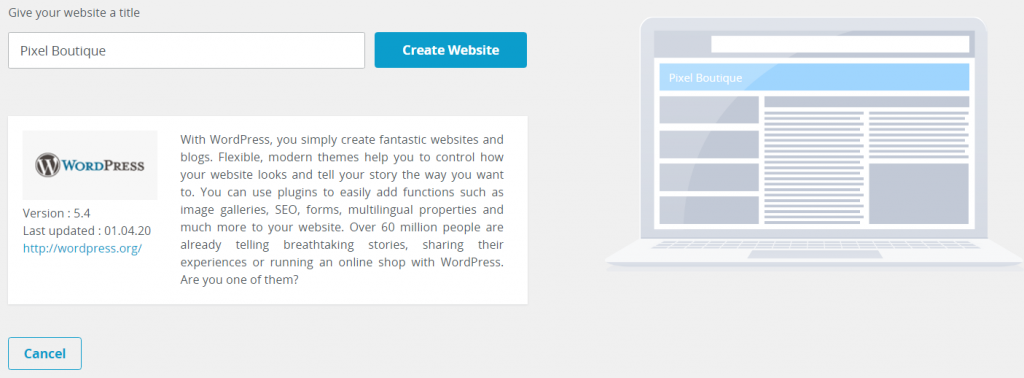
Click ‘Create Website‘.
You now need to give your WP some login details. A username, and a password. Make sure you keep a record of these for when you login to your WP, which you need to do, every time you want to update content.
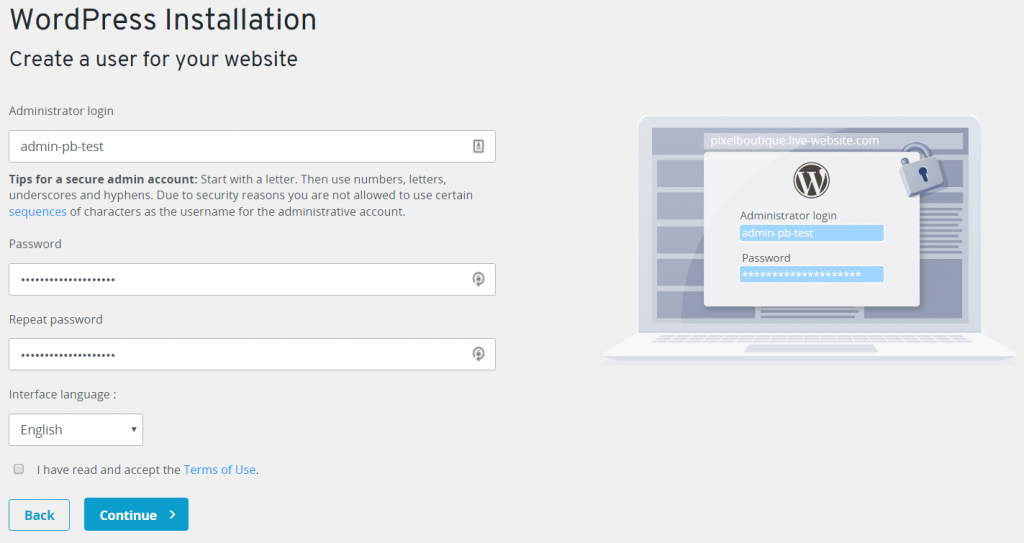
Click ‘Continue‘.
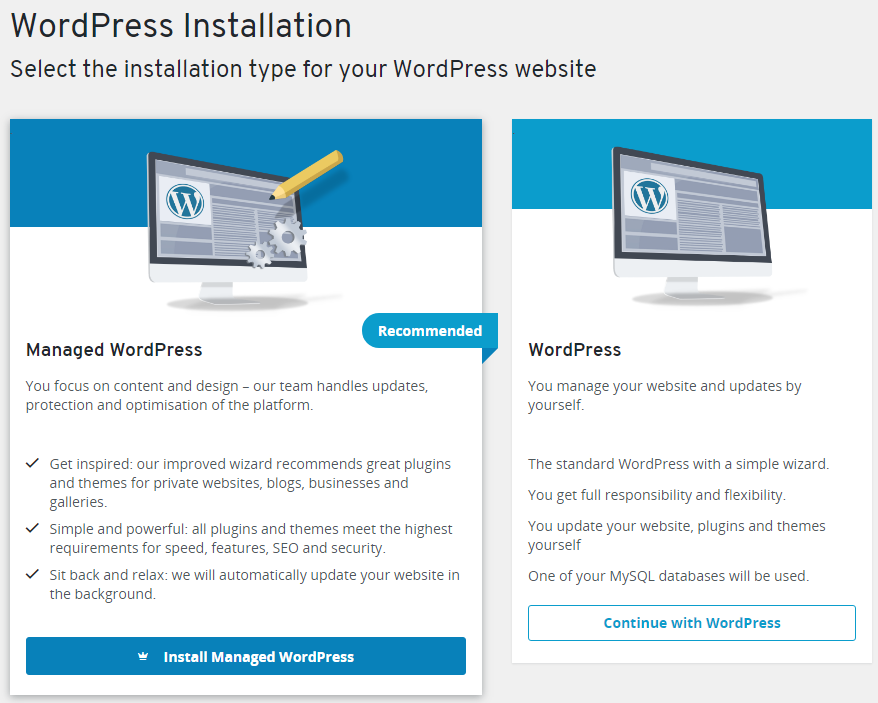
Now on the next page, we need to select which installation we require. We don’t want a managed WordPress, so go ahead and click the right box – ‘Continue with WordPress‘.
We now need to select which domain name we wish to assign this WP installation to. I’m going to assign mine to a subdomain for now.
Go ahead and select your domain name from the dropdown list:
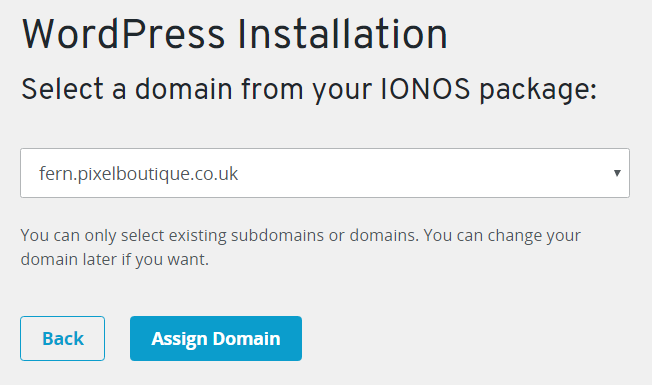
Click ‘Assign Domain‘. This will now link your new WP site to that domain name, so that when you visit that site, you will see your WordPress site.
That’s it. Your WP is installed.
Login to your new WordPress site
To access your WordPress dashboard, enter the domain name you assigned your WordPress database to, followed by /wp-admin into your internet browser address bar and hit enter.
For example, mine will be fern.pixelboiutique.co.uk/wp-admin
You will then be presented with the Ionos WordPress login screen:
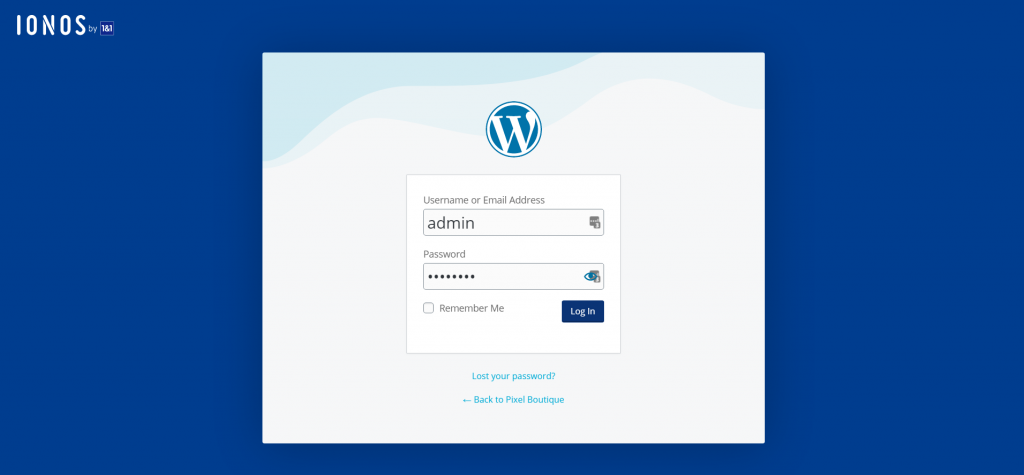
This is where you enter the account details you registered with earlier in this guide. Go ahead and do that, and click ‘Log in’.
You should now be in your WordPress, and the page in front of you is your dashboard.
Welcome to WordPress
If you’re familiar with WordPress, go ahead and do your thing.
If not, I have more WordPress guides you can check out here.
Happy blogging!