How to install a WordPress theme

So you have ventured into the wonderful world of WordPress (welcome) and you have found your ideal theme to use for your website, but now you’re asking yourself “How do I install this?” “What do I do with these zipped files I just purchased”? Well, I have the answer to all of those head-scratching questions right here. I’ll show you how to upload your theme in a few simple clicks.

How to install a WordPress theme

Unzip!

Once you have your theme files, you can go ahead and unzip the folder.
Inside you will find the following items:

  • readme.pdf (this contains the link to the theme guide, to help you get started)
  • theme-files.zip (this is your theme files and contains all the templates and styles – do not unzip this file)

Upload

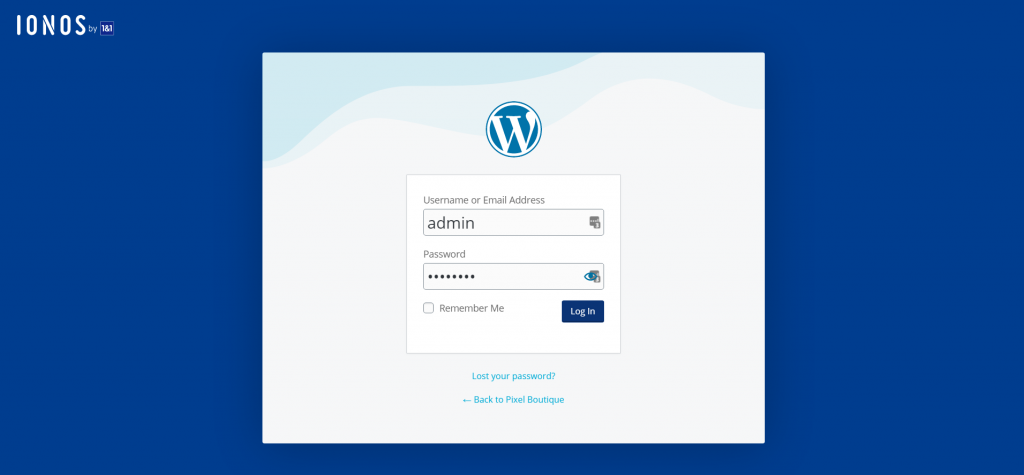
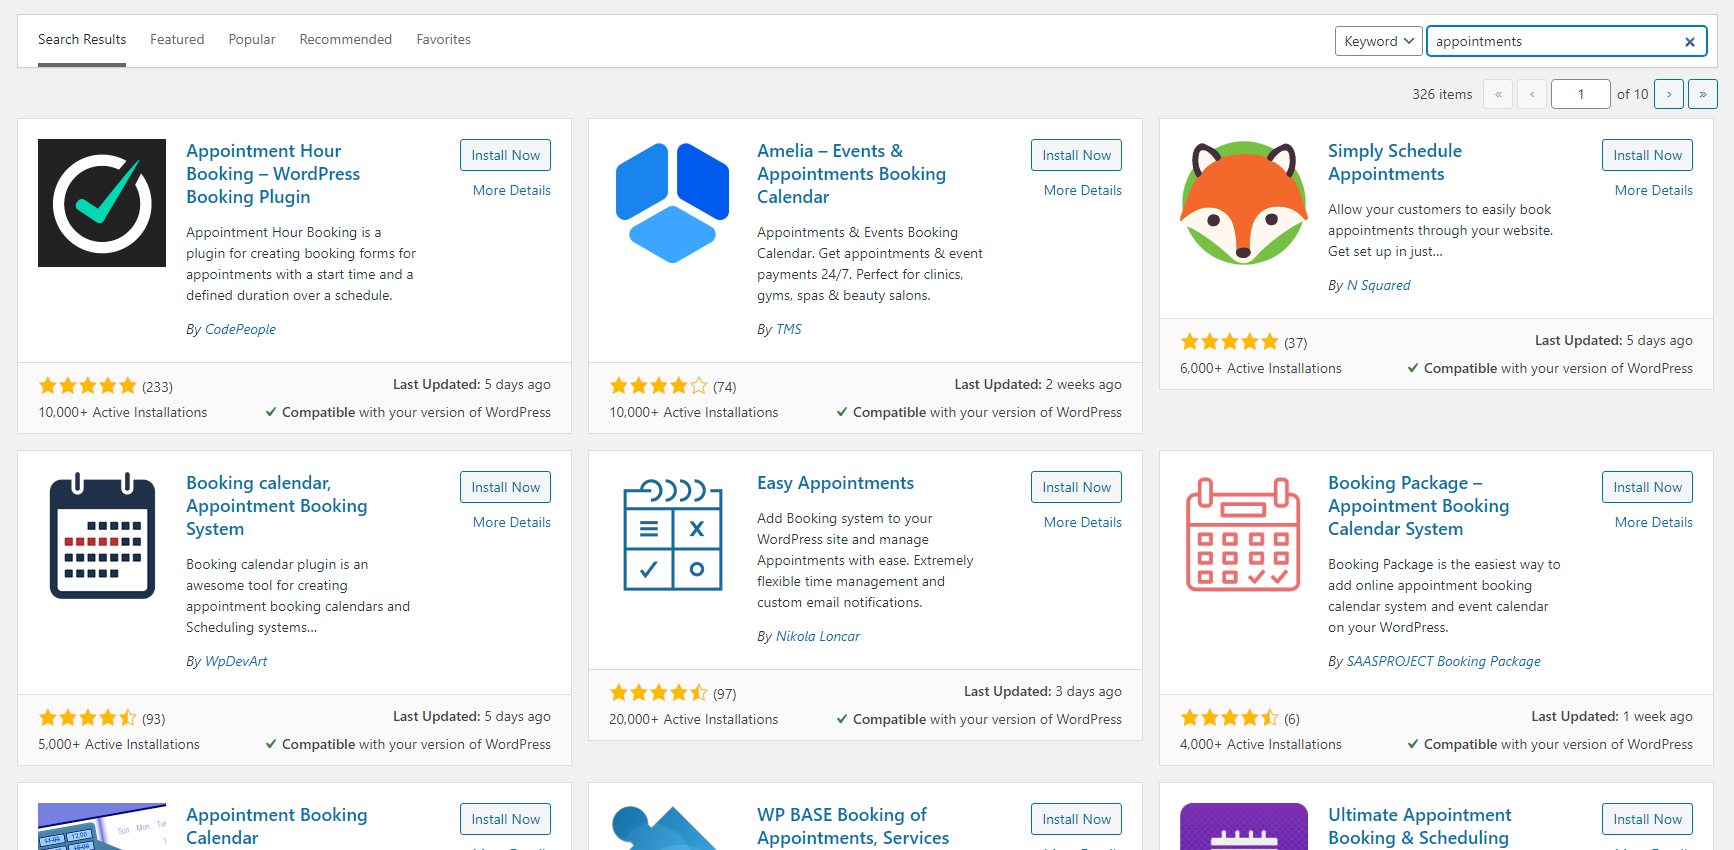
Next, you need to login into your WordPress account, and from your dashboard, navigate to Appearance > Themes.
This page is where all your uploaded themes are and where you can swap and change, activate themes, or simply admire your collection. You may already have the WordPress default themes here, that’s ok, you can leave them there.

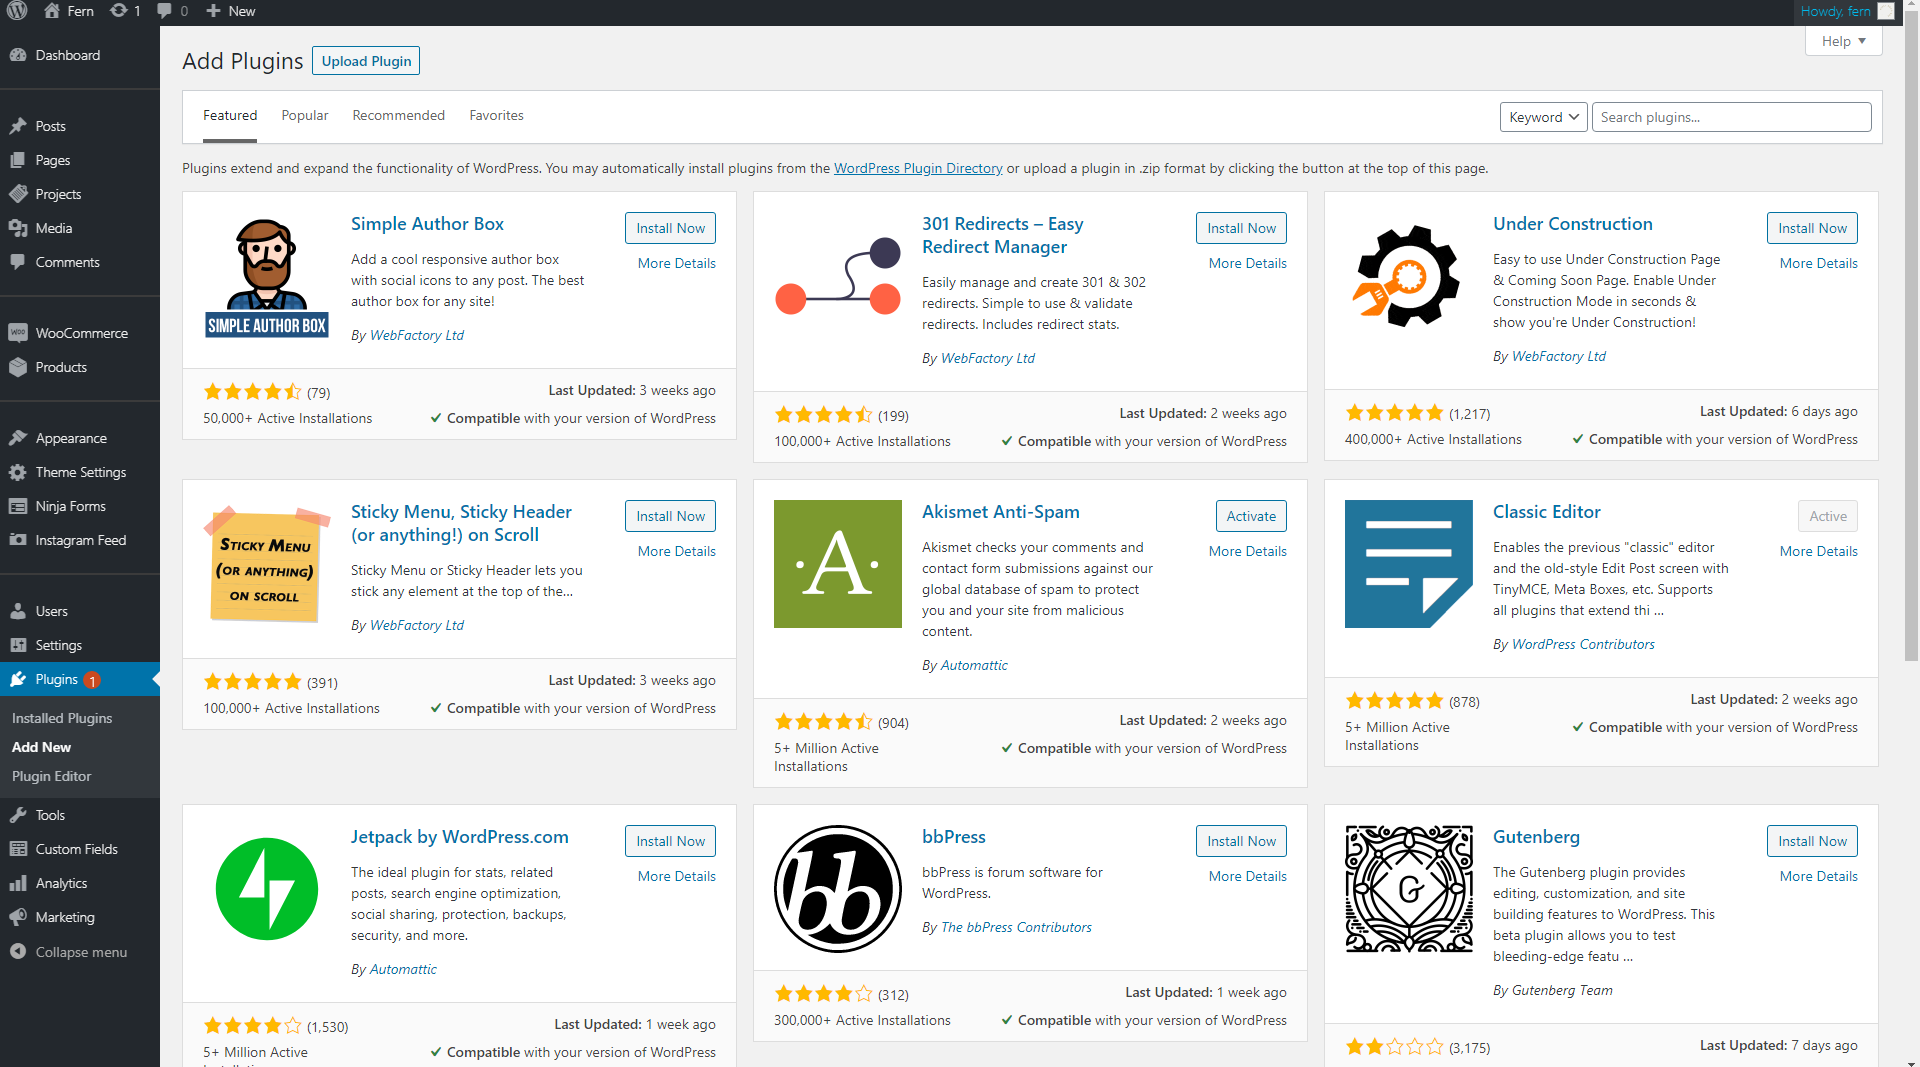
At the top of this page, click the Add New button, and then click the Upload Theme.

On, the next page, you should see an upload form.
Browse to where you saved your theme-files.zip file.
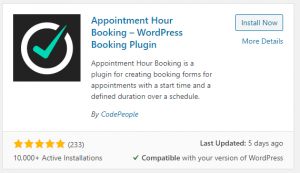
Highlight your file and click Open and then click the Install Now button.

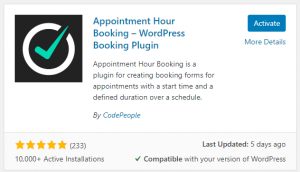
Once your theme has finished installing, you will be presented with a screen where you need to click Activate Now.

And that’s it!

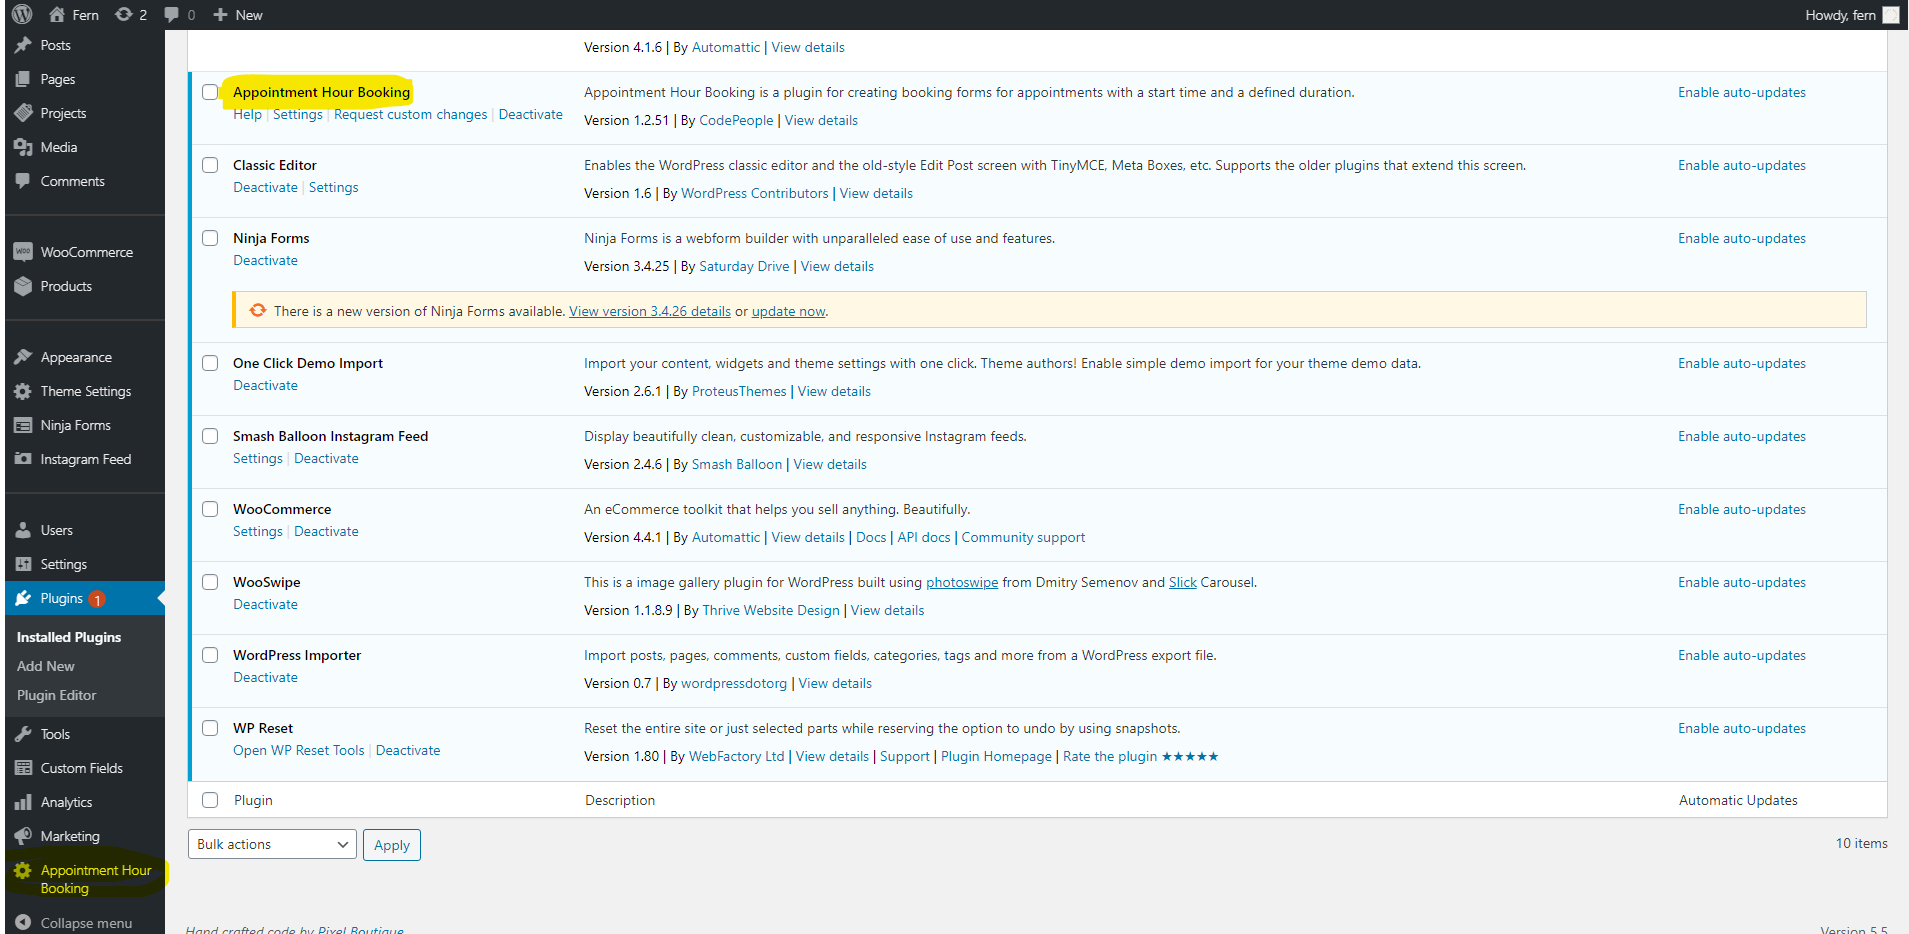
Head on over to your website URL (you may need to refresh) and you should see your new theme installed.
If you don’t have any content on your site yet, it may look a little different from the demo you just purchased, so you need to either install the demo content or get to work on your own pages and posts.

You can find plenty more tutorials and helpful tips over on the blog, and if you need any further help, please get in touch.

Happy blogging!

Installing WordPress | Ionos Click and Build Guide

So you want to use WordPress.org as your website platform?
The first thing you need to do is install it onto your host, and I’m going to talk you through that step by step — you’ll be blogging in no time.

For my host, I use www.ionos.co.uk, previously known as 1and1.
This guide will be based on that website and features. If you wish to use another host, this guide may still apply depending on how much your control panel differs. If you need help with another website, please ask and I’ll try my best to talk you through it.

If you haven’t yet registered a domain name and host, you need to tick that off before continuing to install WordPress. You can read our handy guide on how to do this here: Register a domain name and host with Ionos

Log into your Ionos (host) account

Upon logging into your account, you will be taken to your main dashboard:

Pixel Boutique | How to install WordPress - Ionos / 1and1| WordPress Tutorials

From here, click on ‘Websites & Shops’.

On the next page, click ‘Create New Website‘.

You will then be taken to another page where you can select the type of website you wish to create.

Scroll down and find the WordPress box:

Pixel Boutique | How to install WordPress - Ionos / 1and1| WordPress Tutorials

Click the blue button labeled ‘Get started‘.

Next, you need to give your new WP site a title. You can change this later, don’t worry.

Pixel Boutique | How to install WordPress - Ionos / 1and1| WordPress Tutorials

Click ‘Create Website‘.

You now need to give your WP some login details. A username, and a password. Make sure you keep a record of these for when you login to your WP, which you need to do, every time you want to update content.

Pixel Boutique | How to install WordPress - Ionos / 1and1| WordPress Tutorials

Click ‘Continue‘.

Now on the next page, we need to select which installation we require. We don’t want a managed WordPress, so go ahead and click the right box – ‘Continue with WordPress‘.

Pixel Boutique | How to install WordPress - Ionos / 1and1| WordPress Tutorials

We now need to select which domain name we wish to assign this WP installation to. I’m going to assign mine to a subdomain for now.

Go ahead and select your domain name from the dropdown list:

Pixel Boutique | How to install WordPress - Ionos / 1and1| WordPress Tutorials

Click ‘Assign Domain‘. This will now link your new WP site to that domain name, so that when you visit that site, you will see your WordPress site.

That’s it. Your WP is installed.

Login to your new WordPress site

To access your WordPress dashboard, enter the domain name you assigned your WordPress database to, followed by /wp-admin into your internet browser address bar and hit enter.

For example, mine will be fern.pixelboiutique.co.uk/wp-admin

You will then be presented with the Ionos WordPress login screen:

Pixel Boutique | How to install WordPress - Ionos / 1and1| WordPress Tutorials

This is where you enter the account details you registered with earlier in this guide. Go ahead and do that, and click ‘Log in’.

You should now be in your WordPress, and the page in front of you is your dashboard.

Welcome to WordPress

If you’re familiar with WordPress, go ahead and do your thing.

If not, I have more WordPress guides you can check out here.

Happy blogging!

How to install a WordPress plugin

WordPress plugins are add-ons/extensions, that you can install and use to add extra functionality and jazz to your WordPress website. In this step-by-step guide, I’ll walk you through how to install a WordPress plugin in minutes.

There is a gigantic catalog of plugins, both premium and free, but I guarantee, there is pretty much a plugin for every one of your needs and requirements.

So, how to find and install one….


The WordPress plugin catalog

To explore and browse through the plugins, you can check out the WordPress’ official catalog of plugins: https://en-gb.wordpress.org/plugins/
You can browse at your own leisure and even find something you didn’t even know you needed for your website.

Pixel Boutique | WordPress Tutorials | How to Install a WordPress Plugin

From here, you can download any plugin to your desktop, them simply upload it to your WordPress site, HOWEVER, there is a much simpler way…

The easy way

Log in to your WP dashboard, and from the welcome screen, navigate to Plugins.

On the plugins page, you will be presented with a table of all the plugins you have installed. You may have some that are deactivated (installed but not in use), and you may have some notifications about plugin updates (it’s always a good idea to keep your plugins updated, but make sure you have a recent backup of your site before you go ahead with any WP updates).

But we are here to install plugins, so let’s do that for now.

At the top of the page, you should see a button labeled ‘Add New‘.
Click this, and you will be taken to the Plugin directory page:

Pixel Boutique | WordPress Tutorials | How to Install a WordPress Plugin

The default list is of featured plugins that are commonly used on WP sites.

To find a plugin of your own, or to see if one exists with the functionality you require, just enter the name of the plugin, or a specific keyword in the ‘Search plugins…’ form and it will bring up a list of related plugins.

For example, here I searched for ‘appointments’, and it brought up heaps of plugins that I can try out:

Pixel Boutique | WordPress Tutorials | How to Install a WordPress Plugin Pixel Boutique | WordPress Tutorials | How to Install a WordPress Plugin

You can go through the list of results, find one that does what you need it to, read the reviews, and then we just need to install it.

Simply click the ‘Install Now‘ button next to your selected plugin, and it will begin to install.
Once it has finished installing, you then need to click the blue ‘Activate‘ button, and that’s it!

If you go back to your plugins page, you will see this has been added to your list, and you may also see a new menu item:

Pixel Boutique | WordPress Tutorials | How to Install a WordPress Plugin

I advise you to deactivate and uninstall any plugins you are not using, or plan to use ever again.
To do t his, simply find the plugin in the table above, and click ‘Deactivate‘. Then you can click ‘Uninstall‘.

And that’s plugins in a nutshell.
Go and find something fun to play with 🙂